

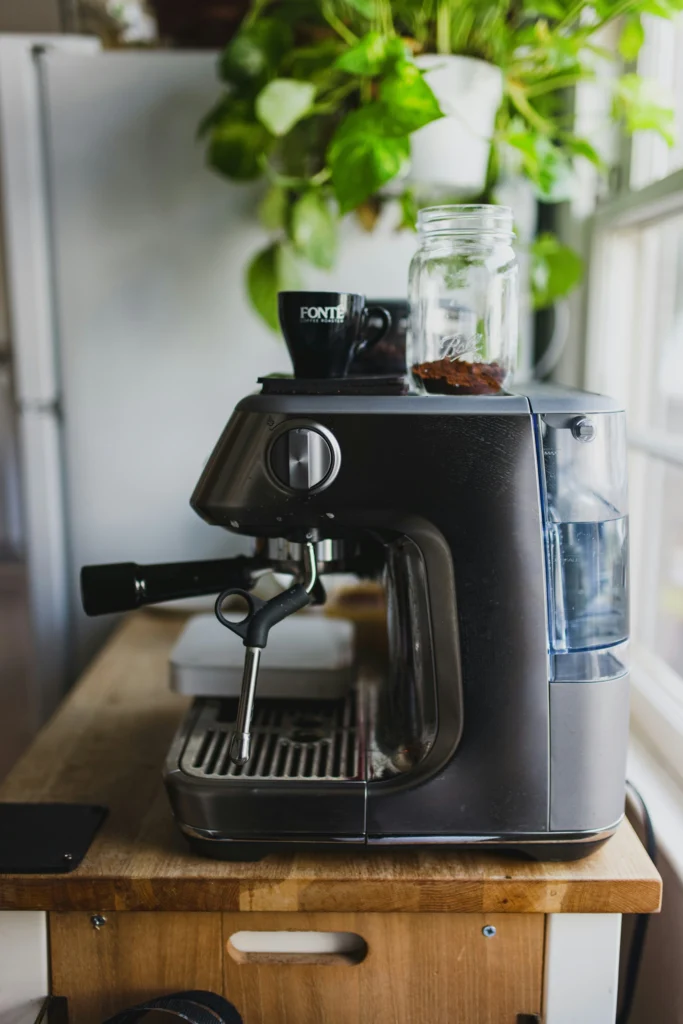
So, you love your coffee, right? That morning cup is like a little hug for your brain. But have you ever thought about what’s actually in your coffee maker? Over time, oils from the beans and minerals from the water can build up, making your coffee taste… well, not so great. Plus, it’s not doing your machine any favors. Learning how to clean coffee maker thoroughly isn’t just about good hygiene; it’s about getting the best flavor out of every single brew. Let’s get that machine sparkling and your coffee tasting amazing again.
Table of Contents
Key Takeaways
- Coffee oils build up fast and can make your brew taste stale or rancid if not cleaned out regularly.
- Using natural cleaners like vinegar or baking soda is effective and safe for most coffee makers.
- Running vinegar or descaling solutions through brew cycles helps break down mineral deposits (limescale).
- Thorough rinsing with plain water is vital to remove any cleaning solution taste or smell.
- Don’t forget to wash removable parts and wipe down the exterior for a complete clean.
inderstanding Why Clean Coffee Maker Thoroughly Is Essential
The Impact of Coffee Oils on Taste
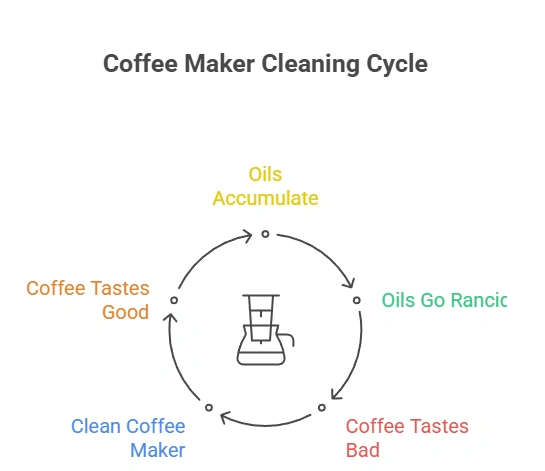
So, you love your morning coffee, right? But have you ever stopped to think about what’s actually happening inside your coffee maker? Coffee itself is made up of a lot of oils – we’re talking somewhere between 12 and 16 percent. These oils are where all those great aromas and flavors come from. But here’s the catch: when these oils hang around in your machine for too long, they can go bad. They get rancid, and that’s when your coffee starts tasting… well, not so great. It’s like leaving milk out on the counter; it just doesn’t taste good after a while. A clean coffee maker means a better-tasting cup.
Preventing Rancidity and Stale Flavors
When those coffee oils start to turn, they don’t just affect one cup; they can linger and make every subsequent brew taste off. It’s not just about a slightly off flavor either; it can lead to a burnt or stale taste that really ruins the whole experience. Think about it – you put good beans in, you use good water, but if the machine is dirty, all that effort goes to waste. Regular cleaning gets rid of these old oils before they have a chance to spoil your coffee. It’s a simple step that makes a huge difference in the final taste. You want your coffee to taste like coffee, not like yesterday’s forgotten brew.
Ensuring Machine Longevity and Performance
Beyond just taste, keeping your coffee maker clean is super important for the machine itself. Over time, mineral deposits from your water can build up inside, especially in the heating element and tubes. This is called limescale, and it can really clog things up. A machine full of gunk doesn’t work as efficiently. It might take longer to brew, or it might not heat the water properly, which also affects taste.
Think of it like a car needing regular oil changes; your coffee maker needs cleaning to keep running smoothly. Keeping it clean can actually help it last longer and perform better, saving you from needing a new one sooner than you’d expect. It’s a good idea to check your coffee maker’s manual for specific cleaning recommendations.
Gathering Your Supplies for a Thorough Clean
Alright, so you’ve decided to give your coffee maker a good scrub. That’s awesome! Before we get into the nitty-gritty, let’s make sure you have everything you need. It’s kind of like prepping for a big meal – having your ingredients ready makes the whole process way smoother. Having the right tools and cleaners on hand means you won’t be scrambling mid-clean.
Natural Cleaning Agents: Vinegar and Baking Soda
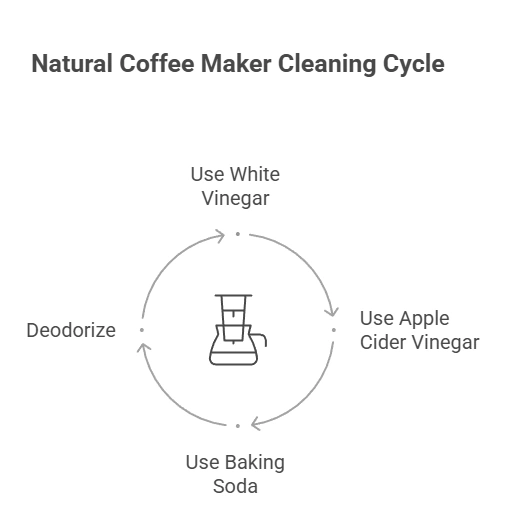
When it comes to cleaning coffee makers, you don’t need fancy, store-bought chemicals. Nature actually provides some pretty effective stuff. White vinegar is a superstar here. It’s great at breaking down mineral deposits, which is basically what limescale is. If you don’t have white vinegar, apple cider vinegar can work too, though it might leave a bit more of a scent. Baking soda is another good one. It’s a mild abrasive, so it helps scrub away coffee oils and stains without scratching things up. Plus, it’s a natural deodorizer.
Essential Tools: Cloths, Sponges, and Brushes
Beyond the cleaning agents, you’ll need some basic tools. Grab a few clean cloths – microfiber ones are nice because they don’t leave lint behind. You’ll also want a sponge, maybe one with a scrubby side for tougher spots. For those hard-to-reach nooks and crannies, a small brush can be a lifesaver. Think of an old toothbrush or a specialized bottle brush. These will help you get into all the little areas where gunk likes to hide.
Filtered Water for Optimal Results
This might seem a little extra, but using filtered water for your cleaning cycles is a good idea. Why? Because if your tap water is full of minerals, it’s contributing to the limescale buildup in the first place. Using filtered water for the rinse cycles helps ensure you’re not just putting more minerals back into your clean machine. It’s a small step that can make a difference in how clean your coffee maker gets and how long it stays that way. You can find filtered water pretty easily at most grocery stores.
Remember, the goal is to get rid of old coffee oils and mineral deposits. Using the right cleaning agents and tools will make this process much easier and more effective. Don’t skip this prep step!
Here’s a quick rundown of what you might want:
- White Vinegar (or Apple Cider Vinegar)
- Baking Soda
- Clean Cloths (microfiber is great)
- Sponge (with a scrubby side if possible)
- Small Brush (like an old toothbrush)
- Filtered Water
The Vinegar Method for Deep Cleaning
So, your coffee maker’s seen better days, huh? Don’t worry, we’ve all been there. The good news is you don’t need fancy chemicals to get it sparkling again. White vinegar is your best friend here. It’s a champ at breaking down those stubborn coffee oils and mineral bits that mess with your brew’s taste.
Preparing the Vinegar and Water Solution
First things first, let’s get this cleaning potion ready. You’ll want to mix one part white vinegar with one part water. So, if your coffee maker’s reservoir holds 10 cups, use 5 cups of vinegar and 5 cups of water. This simple ratio is key to effective cleaning without being too harsh.
Running Half and Full Brew Cycles
Now, pour that vinegar-water mix into your coffee maker’s water reservoir. Pop in the empty carafe and brew basket (make sure there are no coffee grounds in there!). Start a brew cycle, but here’s the trick: stop it halfway through. Let that warm, vinegary solution just sit in there for about 30 minutes. This gives the vinegar time to really work its magic on any gunk clinging inside.
After the 30-minute soak, finish the brew cycle. Once it’s done, toss out the vinegar-water from the carafe. Now, you’ll want to run at least two full brew cycles using only plain, fresh water. This is super important to rinse out all that vinegar smell and taste.
Allowing the Solution to Sit and Work
That 30-minute pause is where the real cleaning happens. It lets the acidic nature of the vinegar get into all the nooks and crannies, loosening up the buildup that’s been hiding away. Think of it as giving your machine a spa treatment.
Here’s a quick rundown:
- Mix: 1 part white vinegar to 1 part water.
- Brew Halfway: Start a cycle, then pause it mid-way.
- Soak: Let the solution sit for 30 minutes.
- Finish & Rinse: Complete the cycle, then run 2-3 full cycles with plain water.
Rinsing and Removing Lingering Vinegar Odors
Alright, so you’ve run that vinegar solution through your coffee maker. Phew! That smell can be pretty strong, right? Now comes the important part: getting rid of all that vinegar so your next cup of coffee tastes like, well, coffee, not a salad dressing. This is where we flush things out.
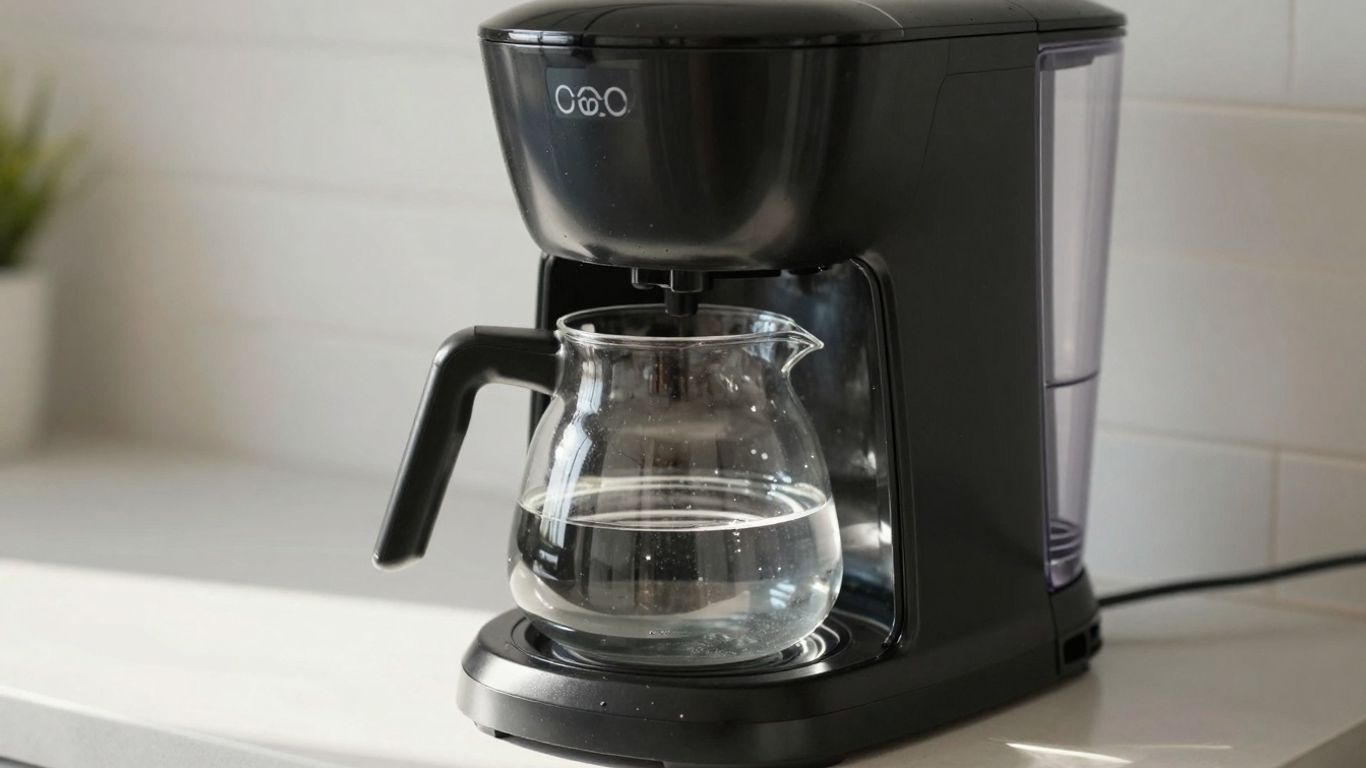
Executing Multiple Hot Water Cycles
This is where you really get to work. You’ll want to fill up your coffee maker’s water reservoir with fresh, clean water. The goal here is to run several full brewing cycles with just water. Think of it like giving your machine a really thorough rinse. I usually aim for at least four or five cycles. It might seem like a lot, but trust me, it makes a difference. You want to make sure every last bit of that vinegar solution is gone.
The Importance of Thorough Rinsing
Why so many cycles, you ask? Because vinegar can be stubborn. It gets into all the nooks and crannies of your coffee maker, and if you don’t rinse it out properly, that vinegary taste is going to sneak into your morning brew. Nobody wants that. It’s not just about the smell; it’s about the taste too. A good rinse means a clean slate for your coffee.
Ensuring No Vinegar Taste Remains
How do you know you’ve rinsed enough? The best way is to just smell the steam coming off the machine after a cycle, and maybe even taste a tiny bit of the hot water that drips into the carafe. If you can’t detect any vinegar smell or taste, you’re probably good to go. If it still smells a bit off, run another cycle or two. It’s better to be safe than sorry when it comes to your coffee!
Here’s a quick rundown:
- Fill the reservoir with fresh, filtered water.
- Run a full brew cycle.
- Discard the water.
- Repeat this process at least 4-5 times.
- Do a final smell and taste test.
Cleaning Removable Components and Exterior
Washing the Carafe and Brew Basket
After you’ve tackled the internal workings, it’s time to give the parts you can actually see and touch some attention. The carafe and the brew basket are usually the dirtiest bits, holding onto old coffee oils and residue. A good scrub with hot, soapy water is your best bet here. Don’t be shy with the sponge; get into all the nooks and crannies.
If you’ve just done a vinegar clean, you’ll want to be extra thorough to make sure no lingering vinegar smell or taste sticks around. Sometimes, a quick rinse isn’t enough, and you might need to let these parts soak for a bit in warm, soapy water. This really helps break down any stubborn coffee stains or that faint vinegar scent.
Addressing the Water Reservoir
Next up is the water reservoir. This is where the clean water starts its journey, so it needs to be clean too. Give it a good wash with hot, soapy water. If you notice any mineral buildup or just general gunk, a soft brush can be helpful. Remember, this is where your fresh water sits, so keeping it clean is key for a good cup of coffee. It’s also a spot where mold can potentially grow if left unchecked, so regular cleaning is a good idea.
Wiping Down External Surfaces
Finally, let’s not forget the outside of your coffee maker. A simple wipe-down with a damp cloth will do wonders. Use a soft kitchen towel, maybe slightly damp, to get rid of any coffee splashes or fingerprints. After wiping, follow up with a dry towel to buff it out and prevent water spots. Keeping the exterior clean not only makes your machine look better but also prevents dust and grime from getting into the working parts. It’s the finishing touch that makes your coffee maker look almost new again.
Addressing Specific Cleaning Challenges
Sometimes, your coffee maker needs a little extra attention beyond the usual vinegar rinse. We’re talking about those stubborn issues that can really impact your morning cup.
Tackling Limescale Buildup
Hard water is the usual suspect when it comes to limescale. These mineral deposits can clog up your machine, making it work harder and affecting the taste of your coffee. You’ll often notice it as white, chalky buildup, especially around the heating element or inside the water reservoir. A stronger vinegar solution (try a 2:1 ratio of vinegar to water) can help break this down. You might need to let the solution sit in the machine for longer, or even run a full brew cycle, let it sit for an hour, and then run another cycle. Don’t forget to rinse thoroughly afterward – limescale can be persistent!
Deep Cleaning with Baking Soda
While vinegar is great for descaling, baking soda is a fantastic deodorizer and can help with tougher coffee oil residue. If your machine smells a bit stale or has some sticky gunk in the brew basket or carafe, baking soda can be your friend. Make a paste of baking soda and water and use it to scrub the removable parts. For the inside of the machine, you can dissolve a few tablespoons of baking soda in a full reservoir of water and run a brew cycle. Be prepared for a bit of extra rinsing to get rid of any baking soda taste.
Cleaning Different Coffee Maker Types
Not all coffee makers are created equal, and their cleaning needs can vary. For instance, a French press is pretty straightforward – just disassemble, wash with soap and water, and rinse. A Moka pot, however, has a few more nooks and crannies. You’ll want to unscrew the filter basket and clean it thoroughly, making sure no coffee grounds are stuck in the threads.
Avoid using soap on the Moka pot’s aluminum body, as it can affect the metal; hot water and a good scrub are usually enough. Drip coffee makers, as we’ve discussed, benefit greatly from the vinegar method. Espresso machines are a whole other ballgame and often require specialized cleaning tablets and more frequent attention to their portafilters and steam wands.
Remember, the goal is to remove built-up coffee oils and mineral deposits without damaging the machine. Always check your manufacturer’s manual for specific cleaning recommendations for your model. Some materials might react poorly to certain cleaning agents.
Here’s a quick look at common issues and solutions:
- Limescale: White, chalky buildup. Use a stronger vinegar solution or a dedicated descaler. Run multiple cycles and rinse well.
- Coffee Oil Residue: Sticky, dark film. Baking soda paste for scrubbing removable parts, or a baking soda solution for internal cleaning.
- Stale Odors: Lingering smells. Baking soda is excellent for neutralizing odors. Ensure thorough rinsing after any cleaning agent is used.
- Clogged Brew Basket: Coffee grounds stuck. Use a small brush to dislodge them and wash thoroughly with hot, soapy water.
Establishing a Regular Cleaning Routine
Frequency of Descaling and Deep Cleans
So, you’ve gotten your coffee maker sparkling clean. Awesome! But how do you keep it that way without turning into a full-time barista-slash-janitor? It’s all about setting up a routine. Think of it like brushing your teeth – you don’t wait until you have a cavity, right? Your coffee maker deserves that same kind of regular attention.
For the big, deep cleans, like running that vinegar solution through, aim for once a month. This is when you really tackle any mineral buildup, or limescale, that’s been hanging out in the machine. If you have really hard water where you live, you might even want to bump that up to every three weeks. It makes a difference, trust me.
Here’s a quick rundown:
- Monthly: Full descaling cycle with vinegar or a dedicated descaler.
- Quarterly: Deep clean with baking soda for stubborn stains or odors.
- Every 6 Months: Check hoses and connections for any issues.
Keeping your machine clean isn’t just about looks; it’s about taste and how long your machine will actually last. Neglecting it means you’ll eventually get stale flavors, and nobody wants that first thing in the morning. Plus, a well-maintained machine can perform better, giving you a more efficient brew.
Daily Habits for a Cleaner Machine
Beyond the monthly deep dives, there are some super simple things you can do every single day that take hardly any time at all. These little habits really add up and prevent gunk from building up in the first place. Seriously, these daily steps are the real game-changers.
- After each use: Toss out the used grounds immediately. Don’t let them sit there getting moldy or attracting little critters. Rinse out the brew basket and the carafe with hot water. If you have time, a quick wash with soap is even better.
- Wipe down: Give the exterior a quick wipe with a damp cloth. This gets rid of coffee splashes and dust before they become a sticky mess.
- Leave it open: If possible, leave the lid of the water reservoir and the brew basket slightly ajar after use. This helps everything dry out completely, which stops mold and mildew in its tracks.
Integrating Cleaning into Your Schedule
Okay, so how do you actually remember to do all this? It’s easy to say “I’ll do it next week” and then suddenly it’s next month. Try tying your cleaning tasks to other things you already do. For example, make your monthly descaling happen on the first Saturday of the month, maybe while you’re doing your grocery shopping or laundry. The daily stuff? Just do it right after you finish your morning coffee. It becomes automatic pretty quickly. You could even set a reminder on your phone if you’re really worried about forgetting. A clean coffee maker means better coffee, and that’s a win-win.
Keep the Good Times Brewing
So there you have it. Keeping your coffee maker clean isn’t some big, scary chore. A little bit of regular upkeep, whether it’s a quick rinse after brewing or a more thorough vinegar cycle once a month, makes a huge difference. You’ll notice it in the taste of your coffee – no more stale, off-flavors. Plus, your machine will thank you by running better and lasting longer. Think of it as a small investment of time for a much better cup of coffee every single morning. Happy brewing!
Read Also: How to Remove Ink Stains from Fabric
FAQ
Why is it important to clean my coffee maker regularly?
Cleaning your coffee maker gets rid of old coffee oils and mineral bits that can make your coffee taste yucky. It also helps your machine work better and last longer, so you can enjoy tasty coffee every time!
What’s the best way to clean my coffee maker?
A great way to deep clean is using a mix of vinegar and water. You run it through the machine, let it sit, and then rinse it out with plain water. This helps break down gunk and limescale.
How often should I clean my coffee maker?
You should do a quick clean of the parts you can remove, like the carafe and basket, after each use. For a deeper clean with vinegar, aim for about once a month, or more often if you notice your coffee doesn’t taste as good or the machine seems slow.
Can I use baking soda to clean my coffee maker?
Yes, baking soda is another good option! It’s great for scrubbing away stubborn stains and getting rid of smells. You can make a paste with water and use it to clean parts, or run a baking soda and water solution through the machine.
What kind of water is best for my coffee maker?
Using filtered or spring water is a good idea. It has fewer minerals than tap water, which means less limescale buildup inside your machine. This keeps it cleaner and helps your coffee taste better.
How do I get rid of the vinegar smell after cleaning?
After you run the vinegar solution through, you need to run several cycles with just plain, fresh water. This flushes out any leftover vinegar and its smell, so your next cup of coffee tastes just right.